Add IPs to a Virtual Server
In order to add an IP address to an existing Cloud server, you'll need to log into HostDime's Cloud Portal first:
This is how you access your Cloud server's main page in HostDime's Cloud.
- Log into your CORE account and click Cloud under
the Products menu.

- Click the Login to Cloud Portal button.

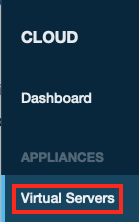
- Now you will be on our Cloud dashboard page. Click on the Virtual
Servers item in the sidebar to switch to a view of your virtual
servers.

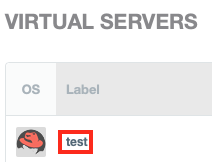
- You will see a list of all of the virtual servers you've created.
Click on the Label for the server you want to work with.

- This will take you to a page where you can see up-to-the-minute statistics and work with your virtual server.
Now you can add an IP address:
- Near the top of the page, there is a line of buttons on the left.
Click on Networking and select IP Addresses.
- Click the Allocate New IP Address button near the bottom
right.

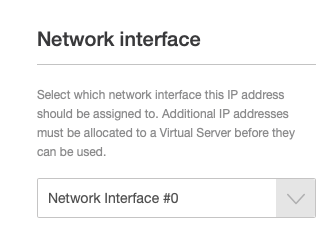
- Select the Network Interface you want to assign an additional IP
address. You can click the Add IP Address button if you don't
care what IP address you get assigned, you can click the Add IP
Address button.

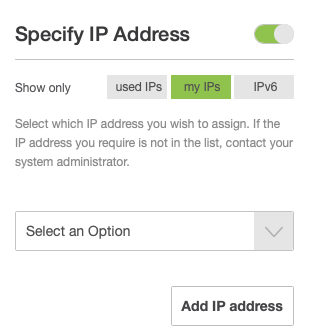
- If you want to specify the IP address, click the slider to the
right of Specify an IP Address and select an available IP
address from the drop-down list. Click Add IP Address to
apply the change.

- If you want to specify the IP address, click the slider to the
right of Specify an IP Address and select an available IP
address from the drop-down list. Click Add IP Address to
apply the change.
- You will be taken back to the list of assigned IP addresses. Click the Rebuild Network button to finish this process.
ℹ️ Not all templates support rebuilding the network configuration live and may require a reboot.